How to Manage OAuth Clients
An OAuth client is an application that is allowed to sign users in to an environment and act for them, for example an AI agent that connects through the Mosaic MCP Server. No application can connect until it is added as an OAuth client of the environment. See OAuth 2.1 Authorization Server for how the sign-in works.
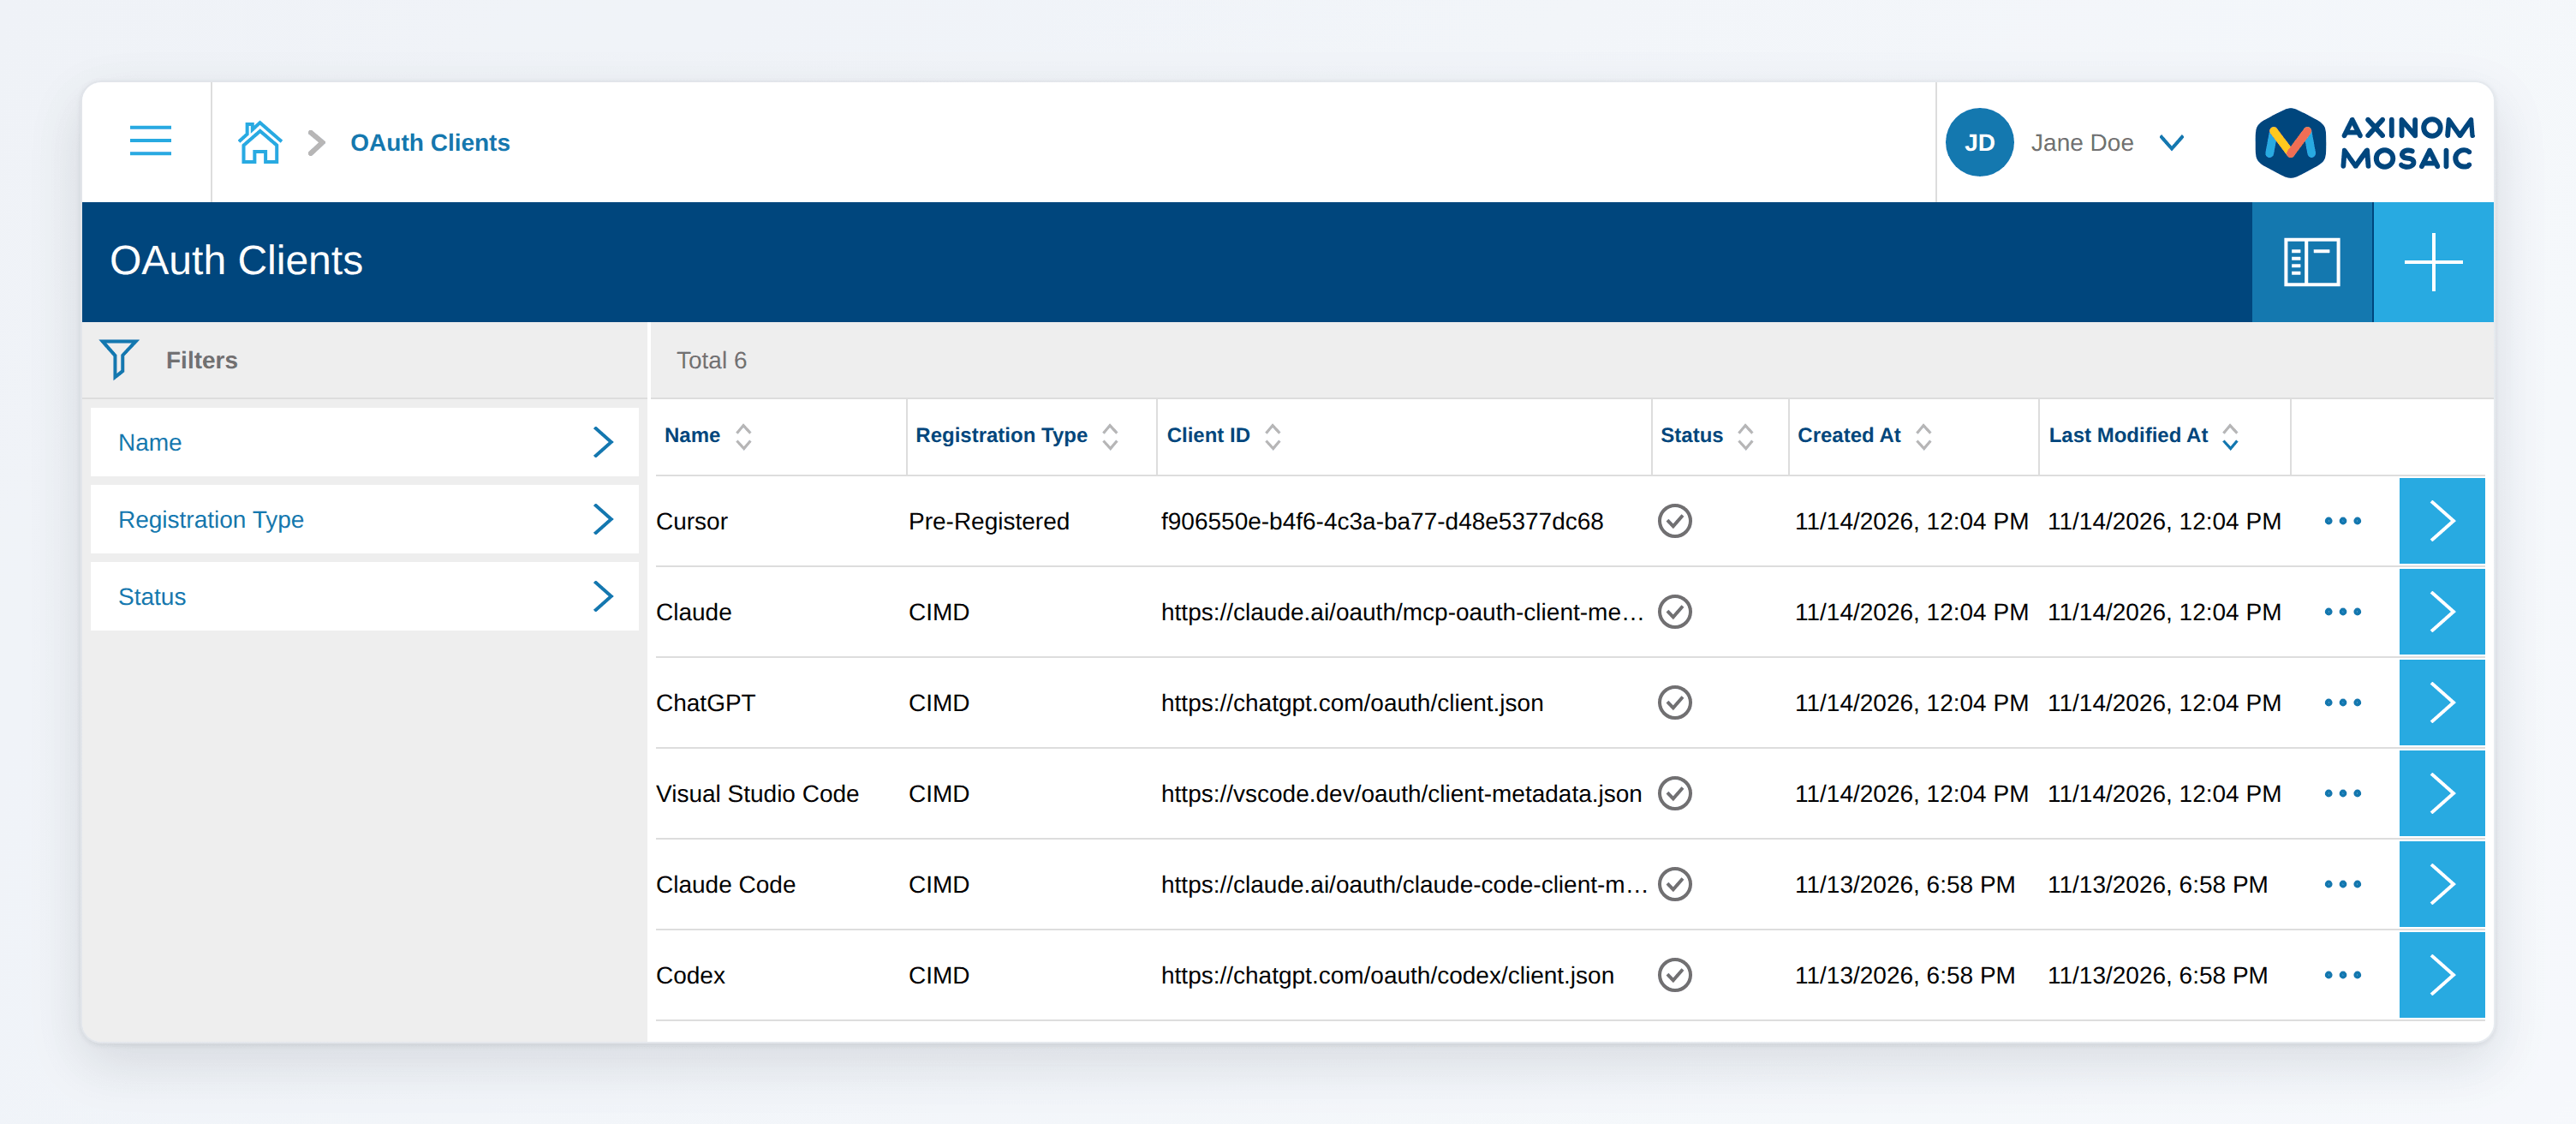
You manage the OAuth clients of an environment in the Management System under Settings > Access Management > OAuth Clients.
OAuth Clients in the Management System
Permissions
The Identity Service has two permissions for OAuth clients, which you assign to user roles:
| Permission | Allows |
|---|---|
OAUTH_CLIENTS_VIEW | Viewing the OAuth clients |
OAUTH_CLIENTS_EDIT | Viewing, adding, changing, disabling and deleting OAuth clients |
The ADMIN permission of the Identity Service includes both.
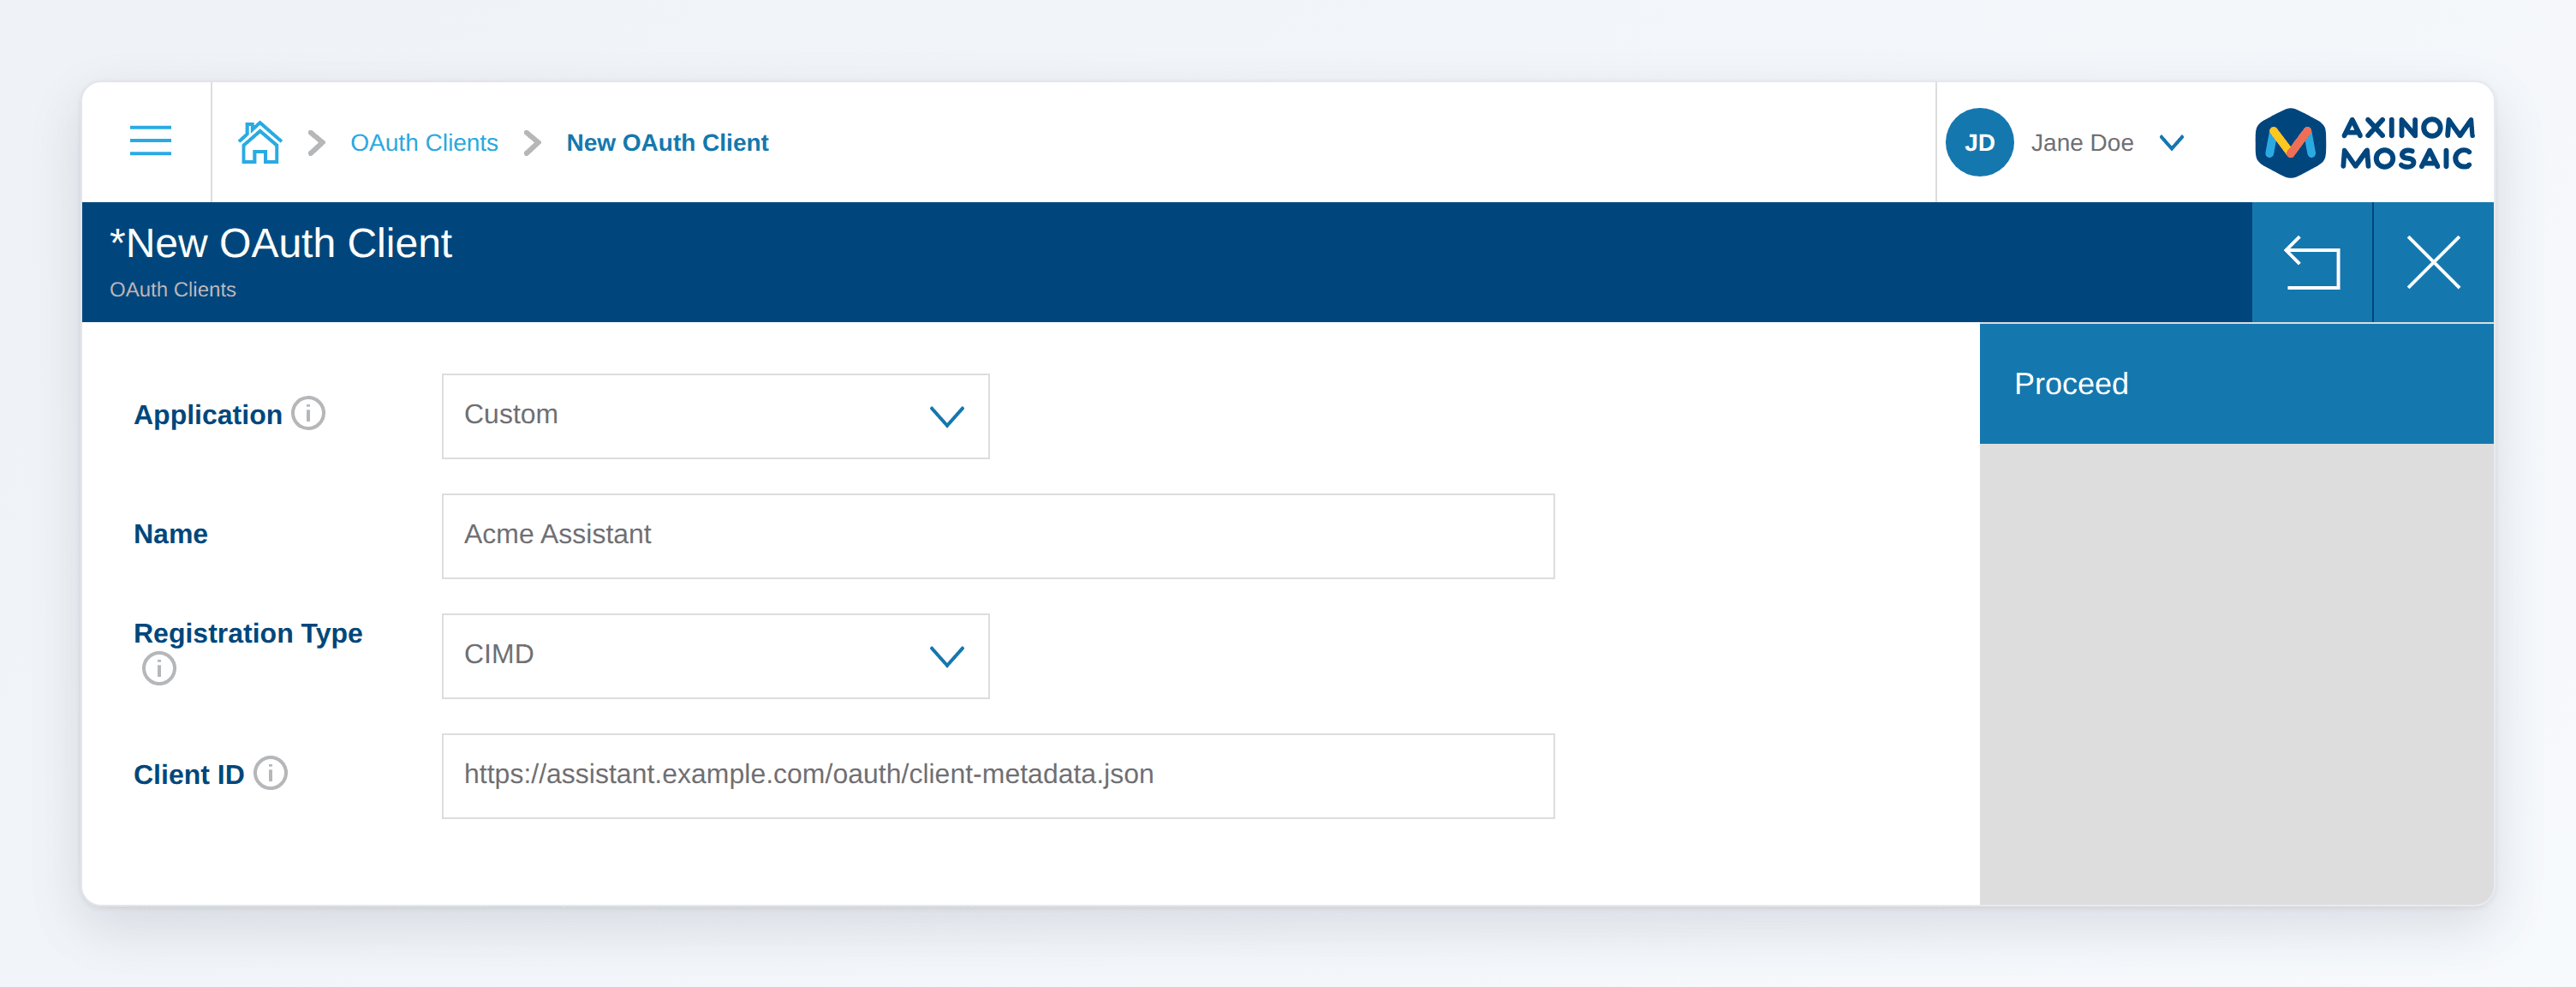
Add an OAuth Client
- Open OAuth Clients and click + (New) at the top right.
- Select the Application:
- For a known AI application, such as Claude, Claude Code, ChatGPT, Codex, Visual Studio Code or Zed, select it from the list. Its name and client ID are filled in. Applications that are already added are not listed.
- For any other application, select Custom and continue below.
- Change the Name if needed.
Users see it on the permission page, and it is part of the user name in the changes the application makes, e.g.
Jane Doe (via Claude Code). - For a custom application, select the Registration Type:
- CIMD, if the application publishes a Client ID Metadata Document. Enter the HTTPS URL of the document as the Client ID. The application's documentation names this URL.
- Pre-Registered, if it doesn't.
Enter the Redirect URIs that the application uses, for example
http://localhost/callback. The Identity Service generates the client ID.
- Click Proceed.
Adding a custom OAuth client
For a pre-registered client, copy the generated Client ID from the details page and enter it in the application. Applications with a Client ID Metadata Document need no further setup.
| Application | Registration type | Client ID |
|---|---|---|
| Claude | CIMD | https://claude.ai/oauth/mcp-oauth-client-metadata |
| Claude Code | CIMD | https://claude.ai/oauth/claude-code-client-metadata |
| ChatGPT | CIMD | https://chatgpt.com/oauth/client.json |
| Codex | CIMD | https://chatgpt.com/oauth/codex/client.json |
| Visual Studio Code | CIMD | https://vscode.dev/oauth/client-metadata.json |
| Zed | CIMD | https://zed.dev/oauth/client-metadata.json |
| Cursor, Gemini CLI | Pre-Registered | Generated |
Change, Disable or Delete an OAuth Client
Open an OAuth client from the list to see its details.
OAuth client details
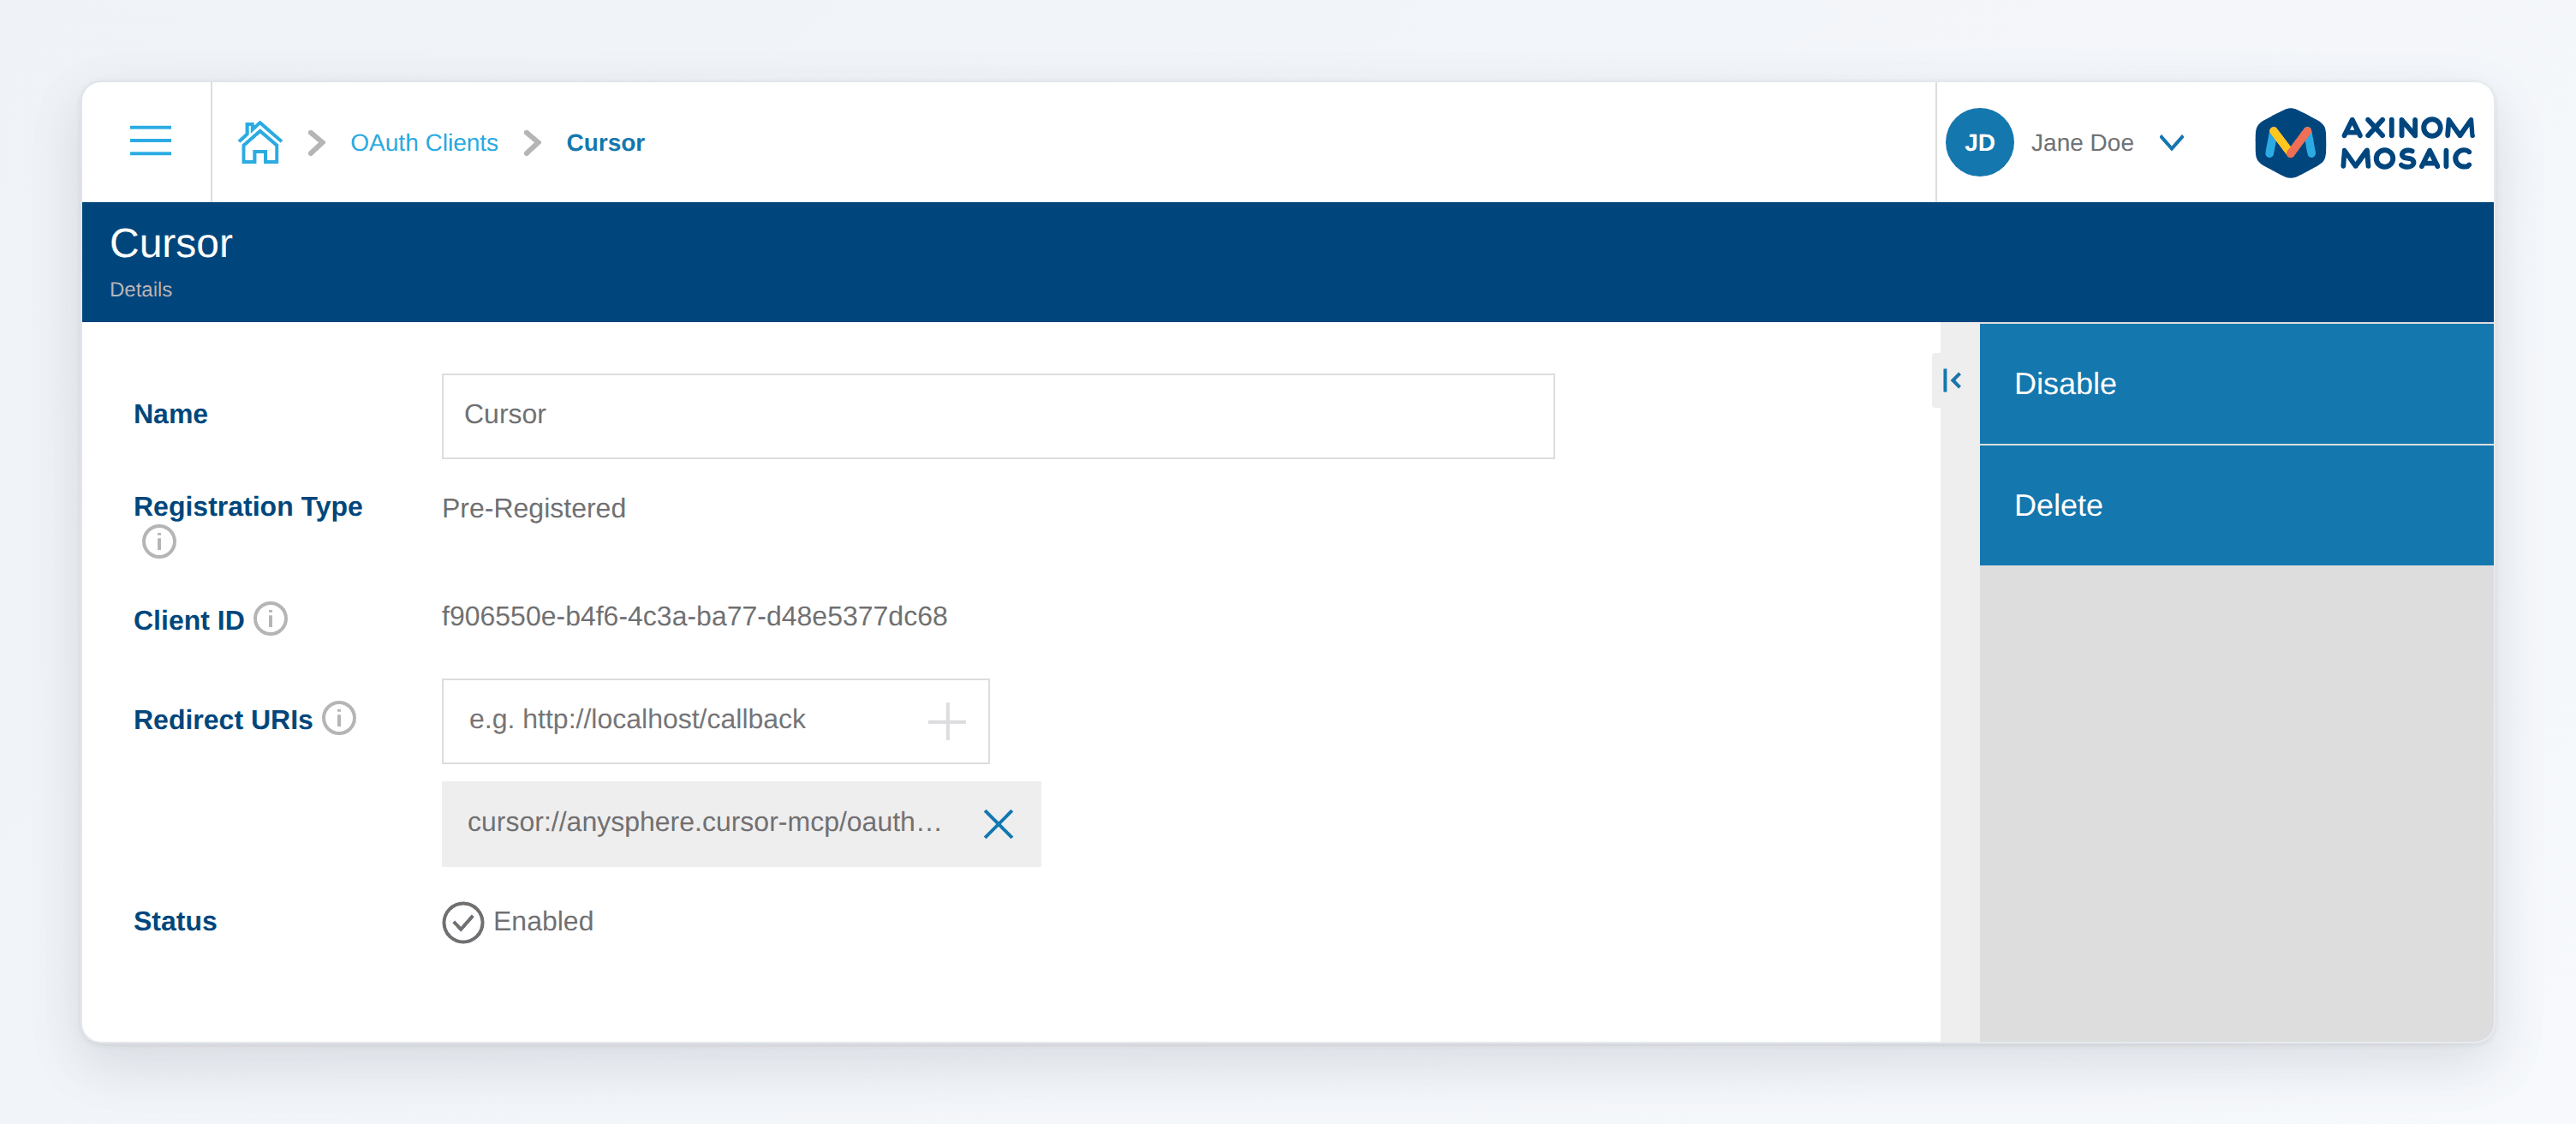
- Name: can be changed at any time.
- Redirect URIs: can be changed for pre-registered clients. Clients with a Client ID Metadata Document take them from their document.
- Client ID and Registration Type: can't be changed. To use a different client ID, add a new OAuth client and delete the old one.
- Disable: users can no longer connect the application, and its existing connections stop working within 10 minutes. After you enable it again, users have to connect it again.
- Delete: deletes the OAuth client and all its connections. Users have to connect the application again once it is added again.
Disable and Delete are also available in the actions menu of each row in the list. Both ask for confirmation.
Allow Any OAuth Client
Instead of adding each application, an Environment Administrator can allow any application with a Client ID Metadata Document to connect.
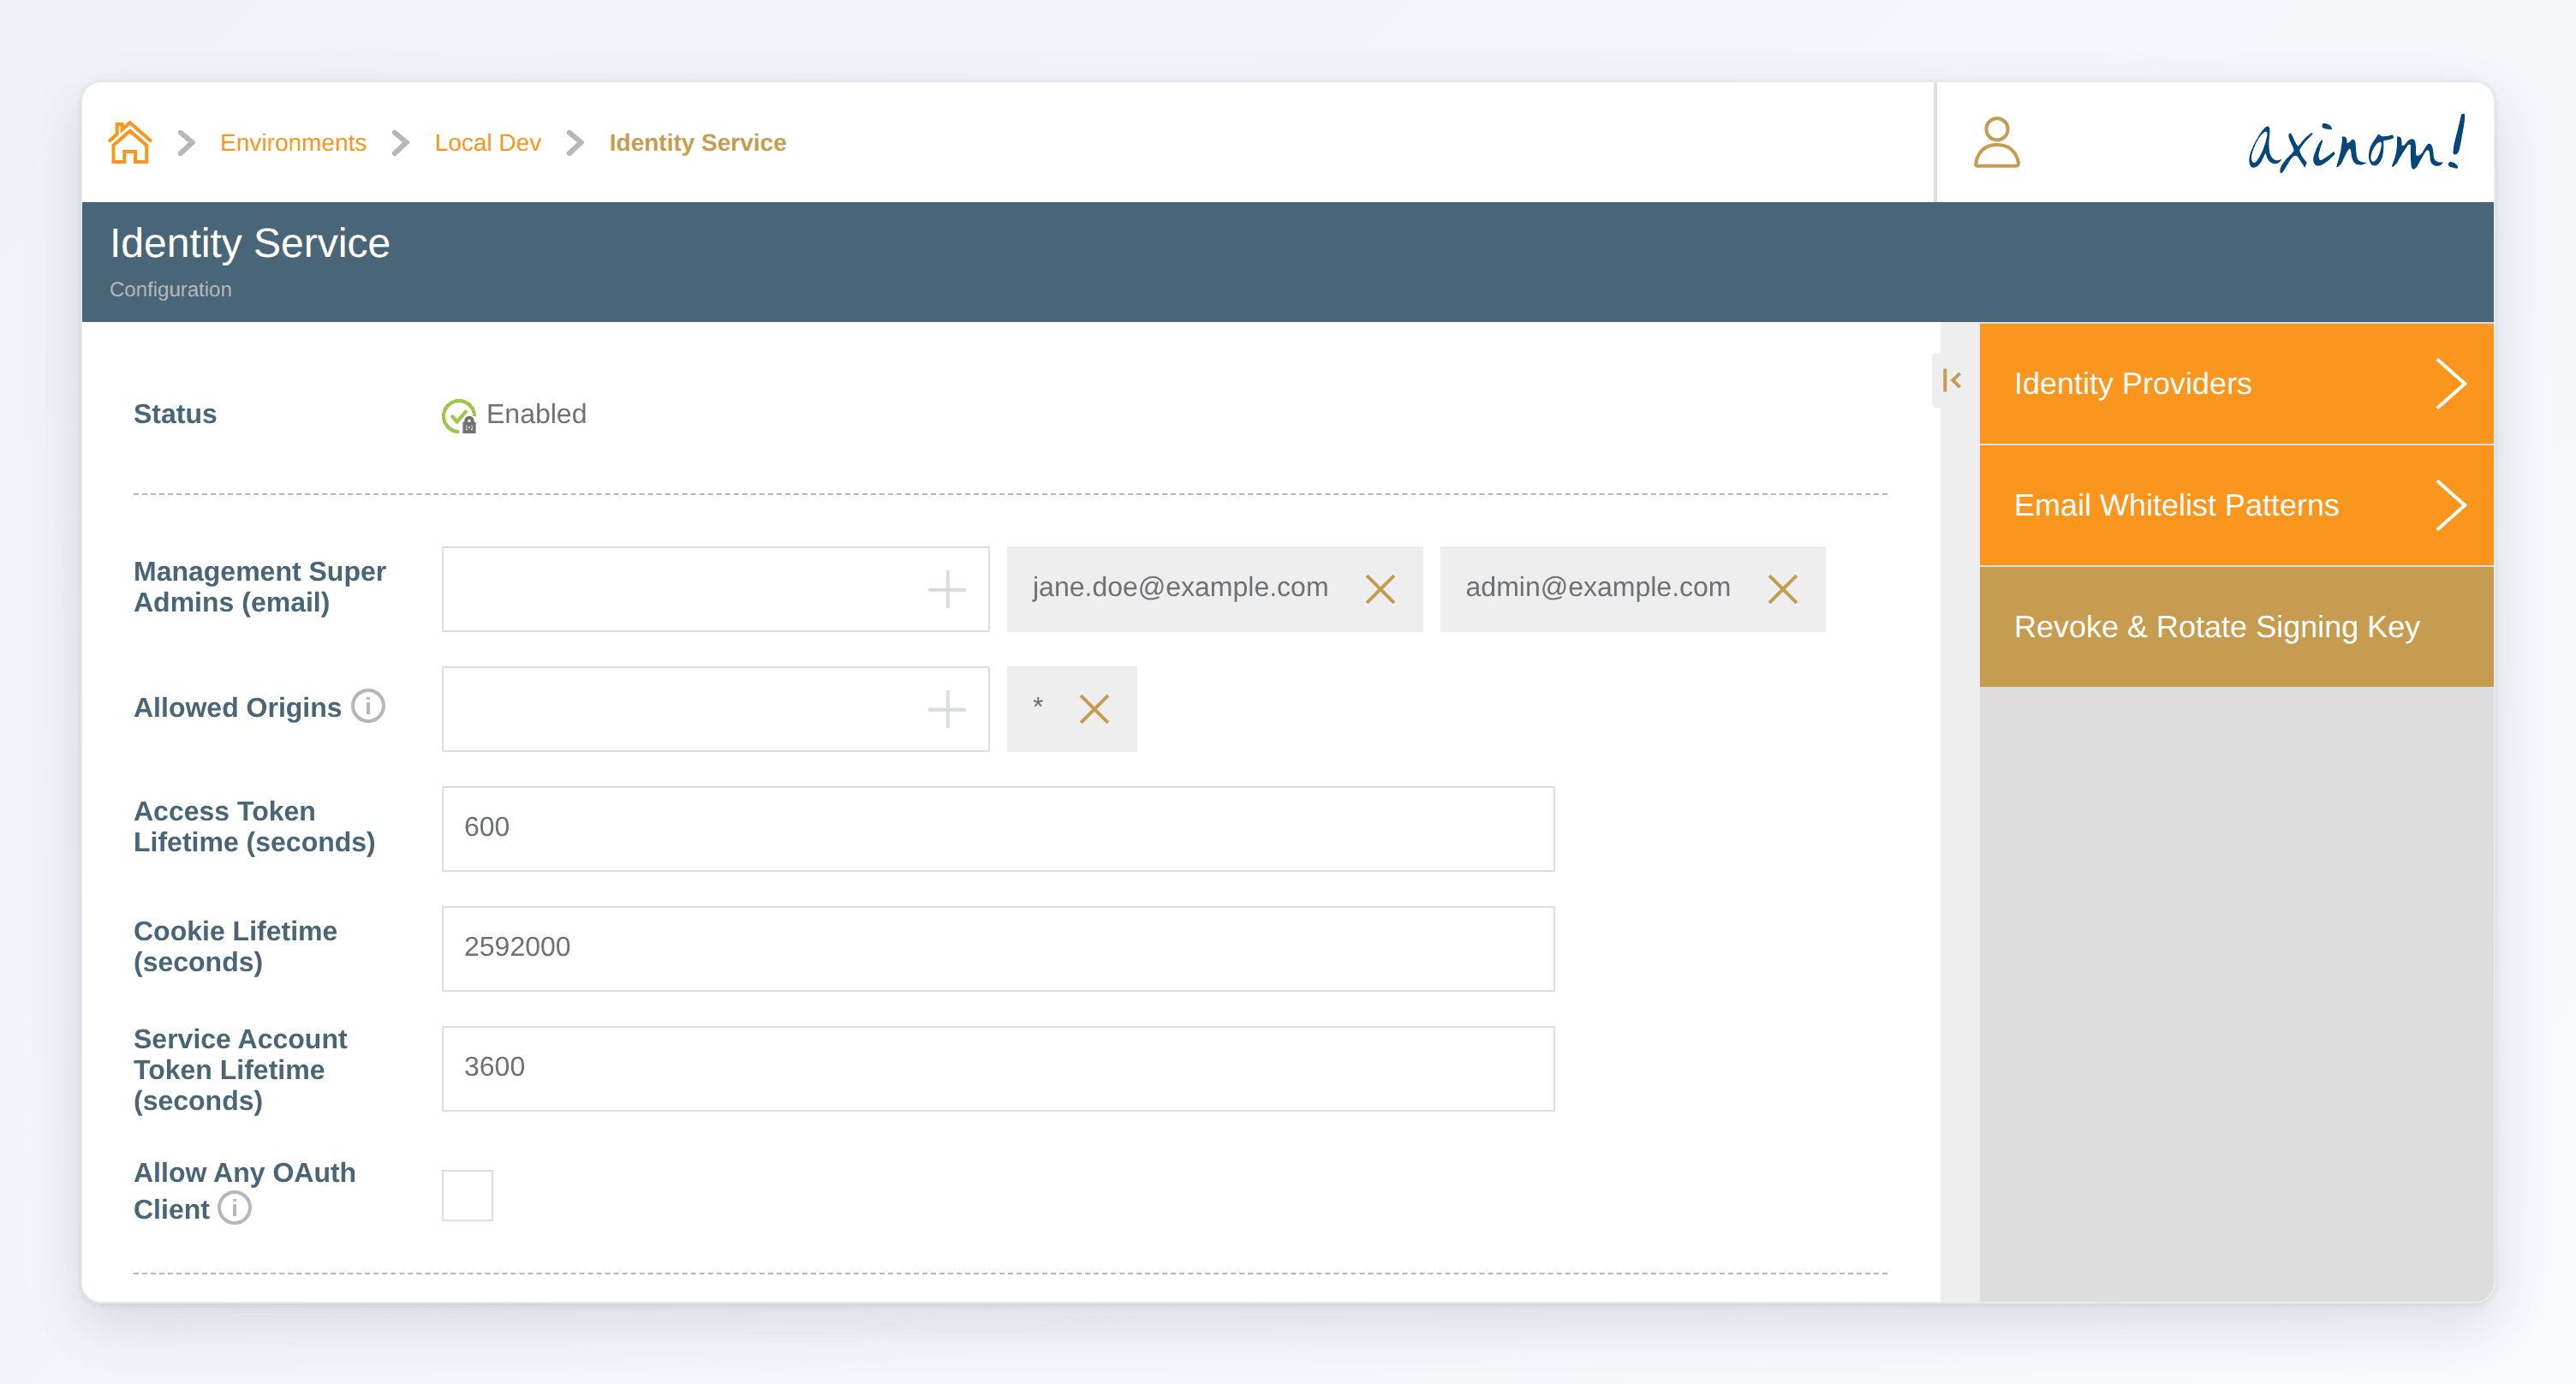
- Log in to the Admin Portal and open the environment.
- Open the configuration of the Identity Service.
- Select Allow Any OAuth Client.
Allow Any OAuth Client in the Admin Portal
An application that connects this way is added to the OAuth clients of the environment, where you can disable it. Disabled clients stay blocked, and users still have to sign in and grant the application its permissions. Pre-registered clients always have to be added.
Allow only the applications that your users need. Adding them one by one keeps a clear list of who can connect, and you can still disable any of them at any time.
Manage OAuth Clients with the API
OAuth clients are also part of the access management GraphQL API of the Identity Service (https://access-management.service.eu.axinom.net/graphql), with the same permissions.
For example, to add Claude Code:
mutation AddClaudeCode {
  createOauthClient(
    input: {
      oauthClient: {
        registrationType: CLIENT_ID_METADATA_DOCUMENT
        clientId: "https://claude.ai/oauth/claude-code-client-metadata"
        name: "Claude Code"
      }
    }
  ) {
    oauthClient {
      id
      clientId
      enabled
    }
  }
}
The API also offers oauthClients, updateOauthClient and deleteOauthClient.